
-
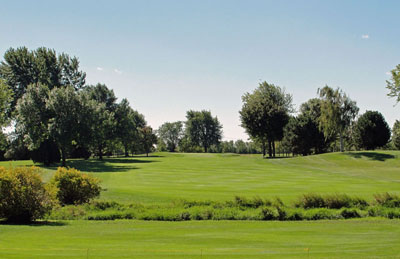
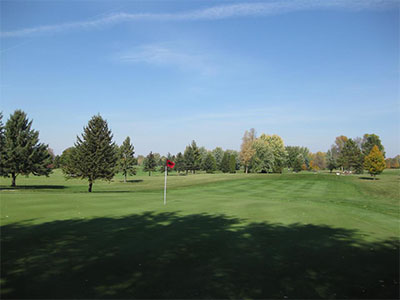
Hole #1
Par 4While most courses will open with a tame hole to ease you into the round, our little dogleg left dandy will grab your attention right out of the gate. The yardage for this par four doesn’t read like much, but poor placement off the tee could lead to a train wreck. A tee ball short and a bit left of the lone fairway bunker will safely leave you in ideal striking position. A meandering creek crosses the fairway and should keep driver in the bag of longer hitters. The green is elevated with a deep bunker left and anything long is no good, so dial in your approach for an ideal start.
-
Hole #2
Par 4This uphill, straight away par four looks relatively mundane. Don’t be fooled! A drive finding the fairway is paramount. The wall of mature trees will block any miss right and a slew of hardwoods & pines will devour any ball left. The green surround is well-bunkered to the left and right, so an accurate approach is required for any chance at birdie. The green slopes quite severely from the back to the middle of the green.
-
Hole #3
Par 5This short par five (by modern day standards) can be ‘had’ with some precision shot-making, but anything less and you’ll be scratching your head in route to the next tee. A generous driving area will narrow considerably and offer an abundance of decision-making options as you approach this deep and narrow green. Safely laying back on your approach can go haywire as fairway bunkers right and a thick grove of trees left will wreak havoc if found. Longer hitters will likely avoid these trouble spots, but the green surround offers plenty of challenge as well.
-
Hole #4
Par 4Game management is required on this dogleg right par four to ensure a sound score. Your target off the tee should be the center of the fairway near the corner of the dogleg. Longer hitters must throttle down to avoid driving through the fairway, which leaves a very poor look at the green. Approaches missing the green to the right are common as this green sits at a slight diagonal from right to left and is also hugged by a bunker on the left.
-

Hole #5
Par 3For a mid-length par three, this gem is no gimmie. The green is plenty wide, but plays deceptively narrow as a massive front bunker guards all but the right third of the green approach and a water feature long will keep you from grabbing an extra club. Committing to the club selected is a must.
-
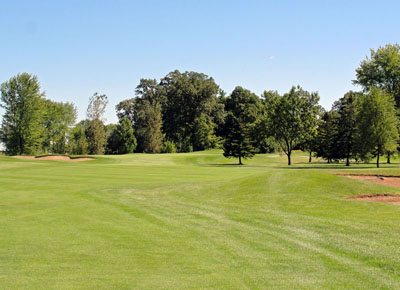
Hole #6
Par 5“Signature hole” comes to mind when playing this scenic par five. Water features abound and can lead golf balls to a watery grave with ease. From the tee there is water in play both left and right, but ample room awaits in the fairway with a well struck drive. From here it becomes decision time as a stream crosses the fairway diagonally towards the green from left to right in the lay-up zone (135 to 85 yards from green). Longer hitters will be tested when trying to reach in two as a pond lurks left and a large greenside bunker sits right of this large green, which slopes from back to front. This is a fine example of a risk/reward hole, which will lead you to our next surprise.
-

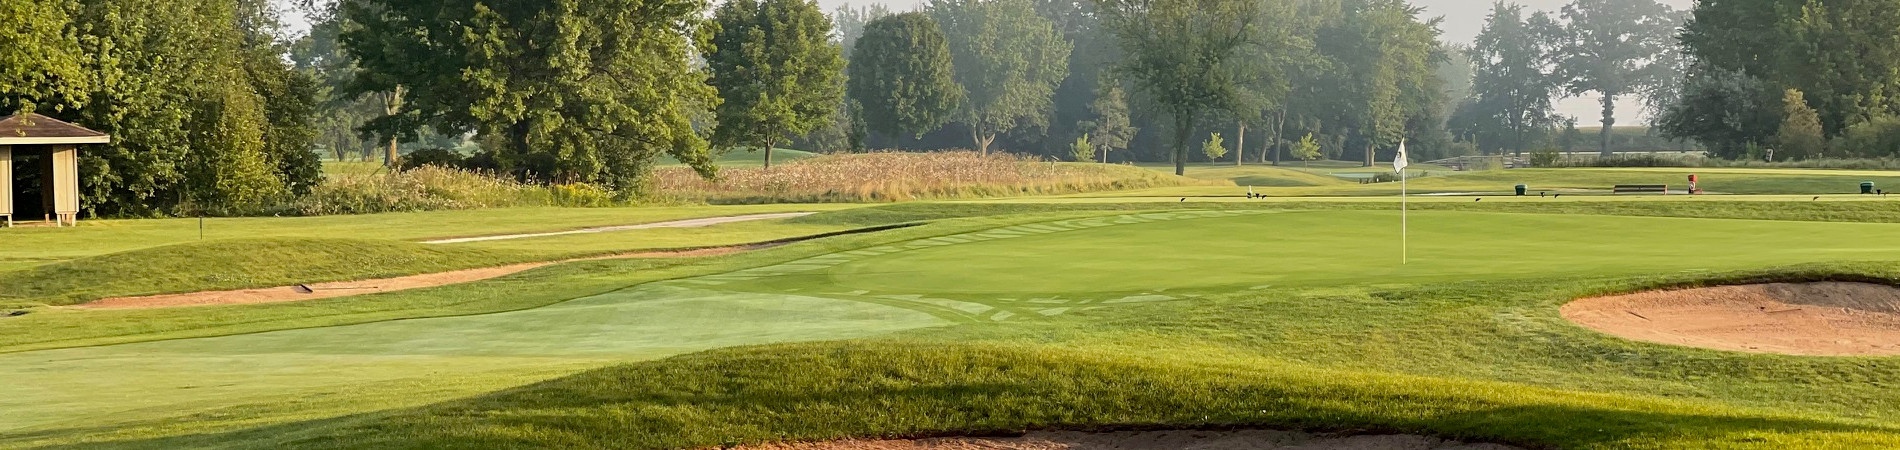
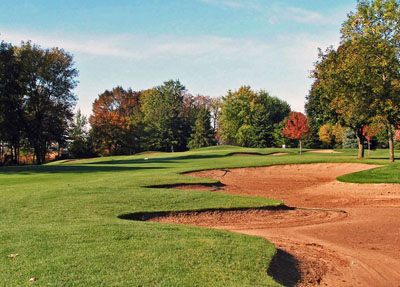
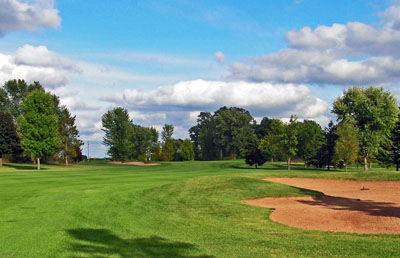
Hole #7
Par 4Be prepared for anything to happen on this rare little devil of a par four if you choose a bombs away approach. While registering in at well under 300 yards, this sharp dog leg left hole will be easily remembered no matter how you play it. The safe play is to try and place a drive at the corner of the dogleg which will leave you a about 100 yards to the green. A small water feature short along with a deep greenside bunker guard the left side of this green. The right side is protected with a short right bunker and a pond throughout. Bombers will pick a line over the towering hardwoods on the left attempting to cash in on a rare chance at eagle. Enjoy the ride!
-

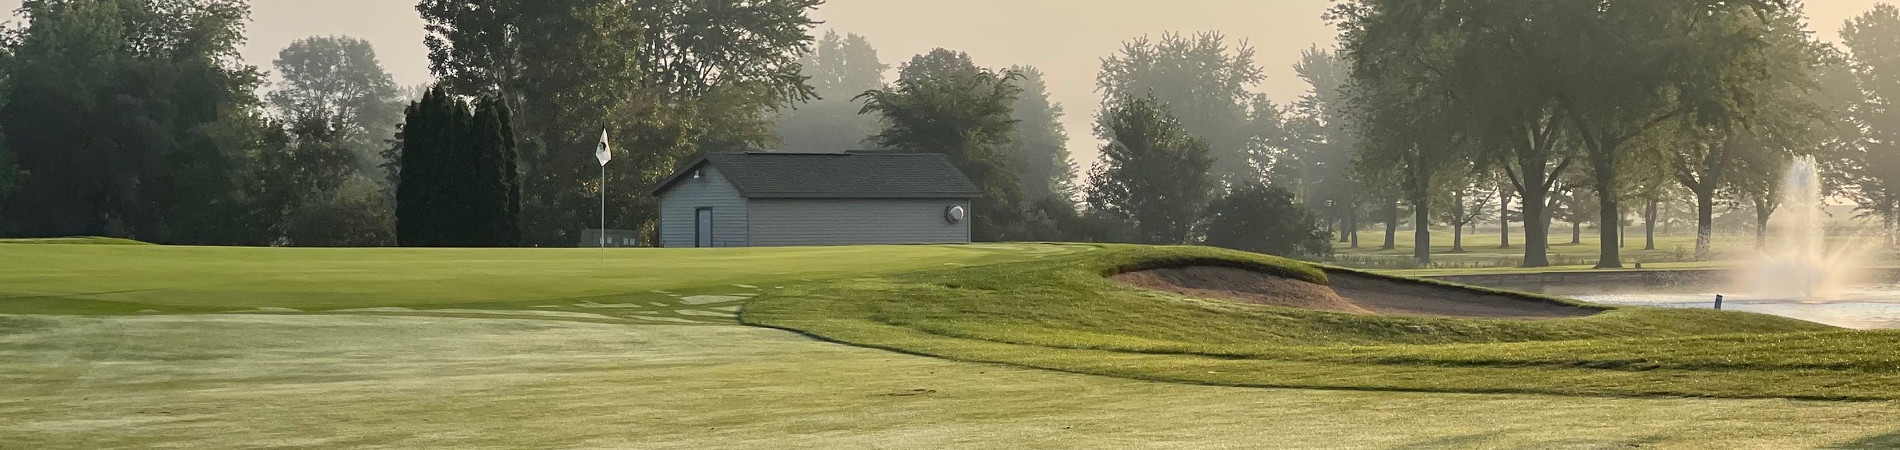
Hole #8
Par 3This visually stunning par three offers a slight breather after the past few holes, although a forced carry over water may thwart any plans of making up lost shots. A deep bunker protects the entire front of this green and is situated between the water and the green. The putting surface slopes heavily from back to front.
-
Hole #9
Par 4Bringing us back to the clubhouse is a sneaky little par four which bends slightly right on its way to the green. Left fairway bunkers in the landing zone tend to quickly bring bogey into play. The green is guarded on all sides by bunkers as well. Avoid these hazards and a good score will make your visit to the clubhouse between nines much more enjoyable.
-
Hole #10
Par 5Slightly uphill off the tee, this straightforward par five appears fairly benign until you reach the table-top like green. Favor the left side on your drive to avoid a cluster of trees on the right. Second shots finding the right side of the fairway will avoid left fairway bunkers. Long hitters can reach this green in two, but an excellent second shot will be required to avoid the right-side bunker and deep depression left. Not getting too cute with your approach will offer a reasonable look at par or better. Try to keep it below the hole as this green is very quick from back to front.
-
Hole #11
Par 4Good shots will be rewarded here, but trouble does lurk throughout this short dogleg left par four. The smart play off the tee is challenged by fairway bunkers on both sides of the landing area. Also, a stream cuts across the fairway in a location that requires a forced carry for shorter hitters. Longer drivers of the ball can aim left and let it rip, but finding the short grass is tough as the landing area is quite narrow. This subtle, deep and elevated green is protected by a bunker right and heavy rough left.
-
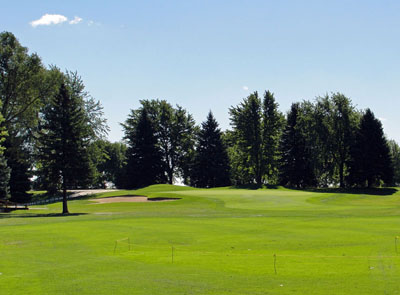
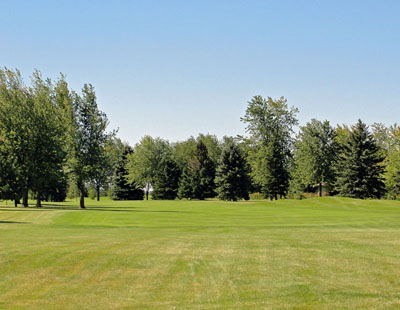
Hole #12
Par 3At the furthest point from the clubhouse, this mid-length par three with a massive green looks rather tame. Beware, as any missed shot left or long of the green will surely bite!! The wrath of bogey or worse will quickly come into play. This generous green is also guarded by bunkers short right as well as short left. Finding the putting surface from the tee will be optimum for a rewarding score here.
-

Hole #13
Par 4This dogleg left par four packs a punch. The lengthy uphill climb towards the green rewards a straight drive as the fairway is lined with trees on both sides (heavier right). The approach is no cake walk either as severe elevation on the left side of the green will send a slight miss caroming off into a position where bogey is anxiously awaiting. The green is guarded on the right by a bunker and anything long will be less than optimal as the back half of the green runs quickly to the middle. On this hole good shots will reap good scores.
-
Hole #14
Par 3Open and easy on the eye, this par three offers a good chance to score low. Avoid the bunker left and take long out of play and you’ll be headed in a positive direction. The green is quite large and slopes plenty from back to front. Check the wind direction and commit to your club selection to properly take advantage of this scoring opportunity.
-
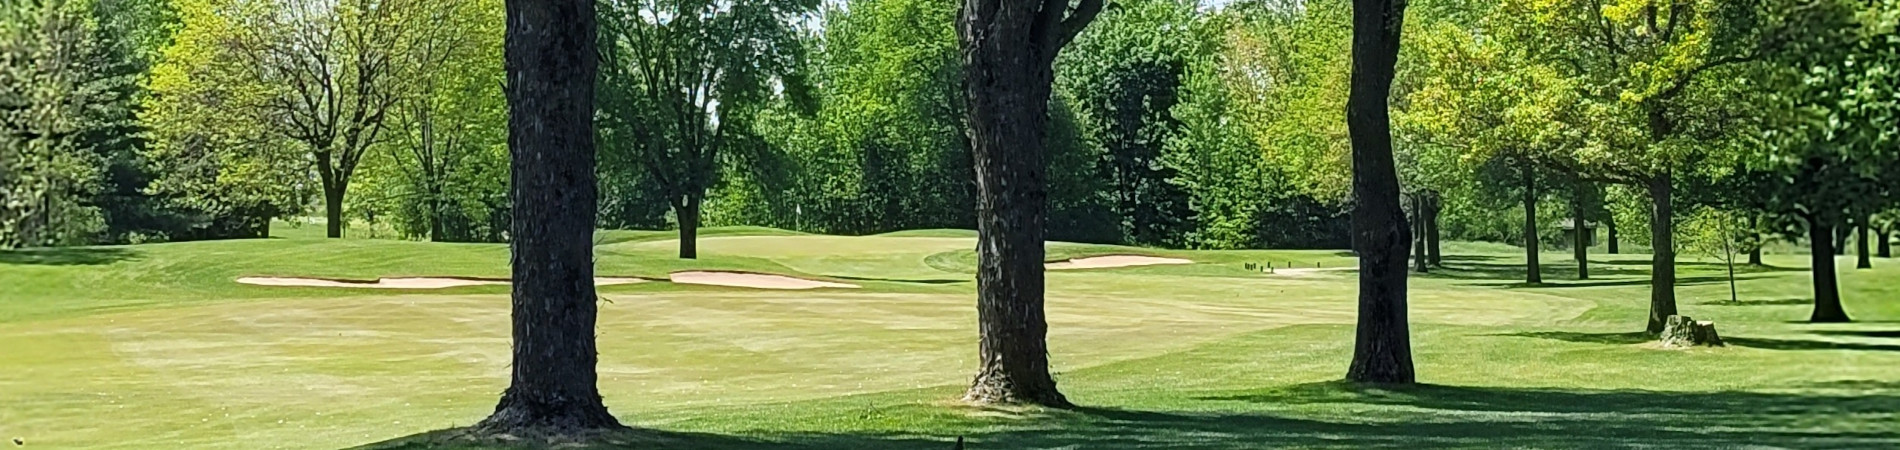
Hole #15
Par 5Trees line this par five from tee to green and put a premium on the straight ball. The left-side fairway bunker off the tee tends to create misses right. Drives finding the fairway will face fairway bunkers on the right-side at roughly 150 yards from the green and on the left-side near 100 yards from the green. Two quality shots will leave a clear approach to this long narrow green which is guarded by a bunker short left. Be certain to pick the correct club as this green can host epic length putting opportunities.
-
Hole #16
Par 4The base of Erdmann’s Triangle (15 tee to 17 green), this par four turns a bit left from tee to green. A right-side fairway bunkers tends to absorb its fair share of drives and acts as the main defense off the tee. With a well struck tee-ball this hole offers ample scoring potential. Avoid the left greenside bunker on your approach and you should be able to roll an aggressive putt on this subtle green.
-
Hole #17
Par 4If each hole at The Fox was like this beast, the course would be called Bear Valley! This lengthy par four curls left on its path to the green. Trees dominate the left-side of the hole and will lead to chipping back to the fairway if found. Tall fescue grasses to the right creep into play from tee to green and are played as a penalty area. Well struck drives finding the fairway will be left with mid-irons to as much as ‘everything in the bag’ pending wind conditions. Additional drama ensues as this thin and mega deep green hosts plenty of undulation along the right third of the green and is guarded by a bunker left. Walking away with par here is beyond satisfactory.
-

Hole #18
Par 5Our grand finale can be a wild journey to settle your wagers as nearly anything can happen. The downhill par five offers a generous landing to swing away at your tee-ball before getting into the nitty-gritty of the hole. There is a ball thirsty creek that cuts across the hole at roughly 90 yards from the green and then meanders down along the left side up to the green. Most players will choose to layup, but must avoid the right fairway bunker without going too far left as a wall of towering hardwoods will block your next play to the green. Shots into the green are guarded by a large bunker and single towering tree to the right and a steep embankment to the left which will feed missed shots into the aforementioned creek. The green runs quick from back to front. Good luck!!